
Configure the Ricoh MFP in Argos Manager
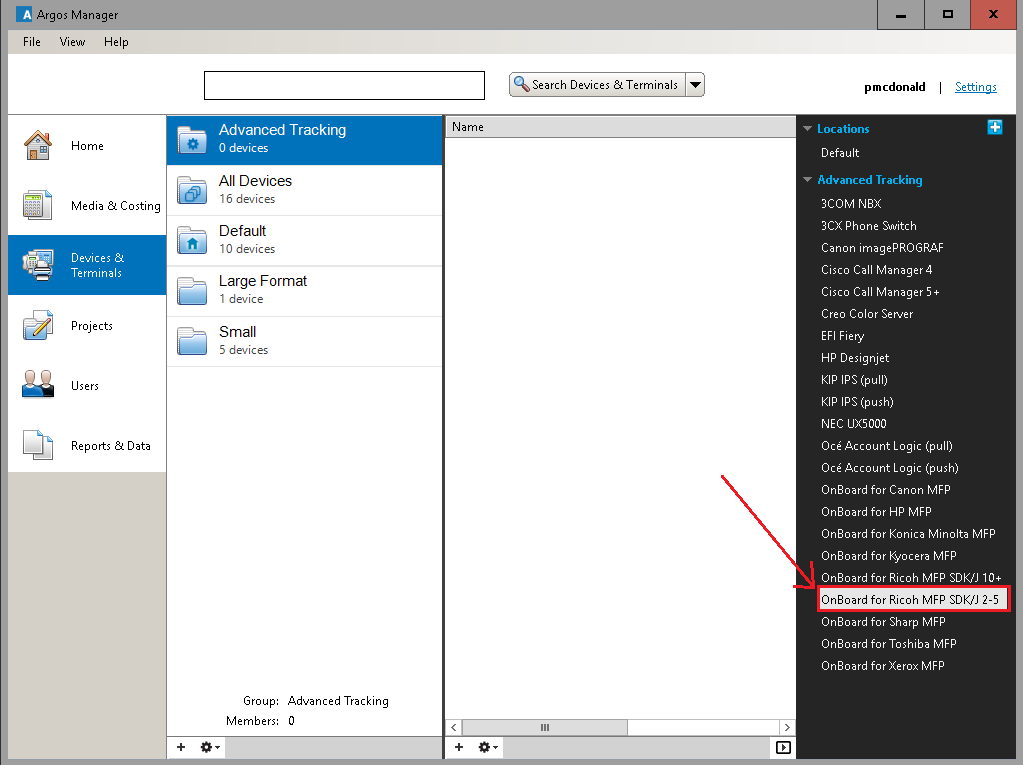
- Open Argos Manager and click "Devices and Terminals" tab
- In the 'Advanced Tracking' section, double-click the "OnBoard for Ricoh MFP SDK/J 2-5" link to create a new Ricoh connector
- Enter the IP or hostname of your Ricoh device, set the desired automatic log out duration when the copy session is idle and length of PIN codes

- Click the "Device Information" tab
- Enter the Device name, and optionally, the group, location and owner
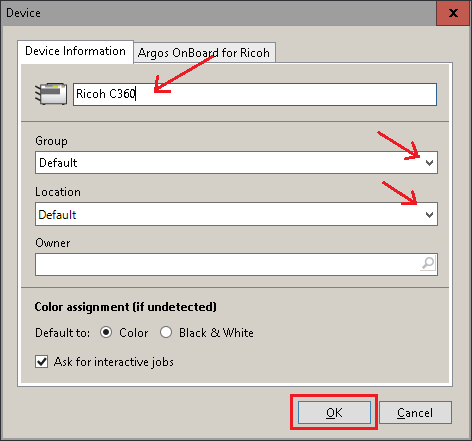
- Click "OK" to save the changes
Install the Ricoh MFP OnBoard agent
Argos OnBoard for Ricoh is installed by uploading a modified text file and java application to the device through the Ricoh administration page. This is a two part process.
Edit the configuration file
The installation files for Argos onBoard are included in Argos installers directory. The default location for this folder is C:\Argos7Installers\Ricoh, but your location may be different.
- Browse to Ricoh folder
- Right-click RicohOnBoard.zip (filename may have version and date listed) and unzip using your preferred method
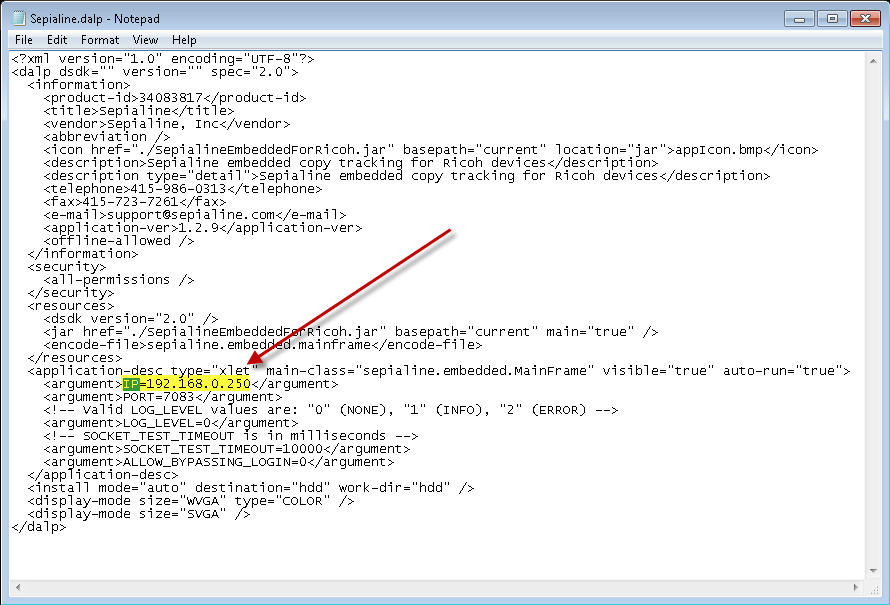
- Open Sepialine.dalp
- Locate this line: <argument>IP=192.168.0.250</argument>
- Change the IP address to match the IP address of the Communication Server that this Ricoh MFP should connect to
- Save the file
- Zip the .dalp and .jar file back up, and rename if desired
|
If you have Ricoh MFPs in multiple offices, you can create an installation zip file for each office. |
Install Argos OnBoard for Ricoh on your MFP
- Open Internet Explorer. The Ricoh administration page does not support other web browsers
- Browse to HTTP://Ricoh_IP_Address

- Click the Login link in the top right corner
- Enter admin as the username, no password. (your username/password may be different. In this case contact your Ricoh representative for the correct credentials)
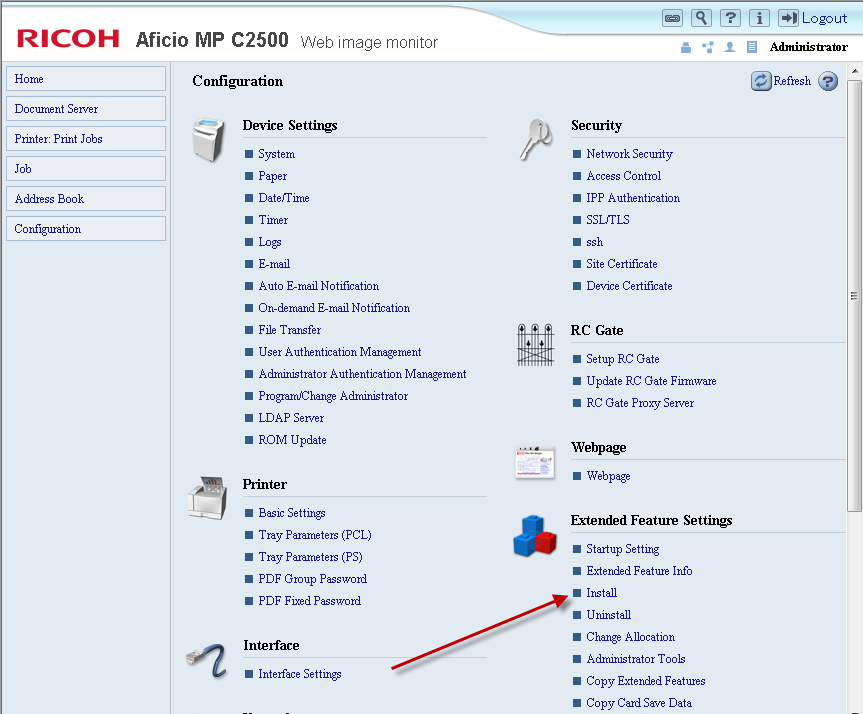
- Click Configuration on the left menu
- Click Extended Feature Settings > Install on the lower right menu
- Click Local File and browse to your customized ZIP file
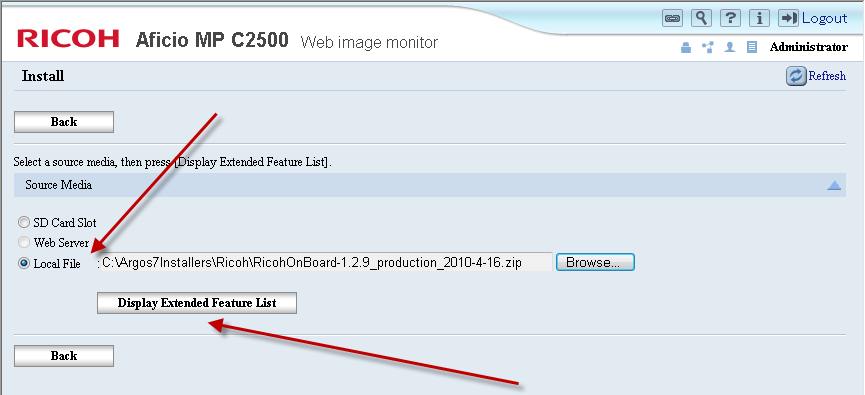
- Click Display Extended Feature List button
- Change Installation Target Setting to Device HDD
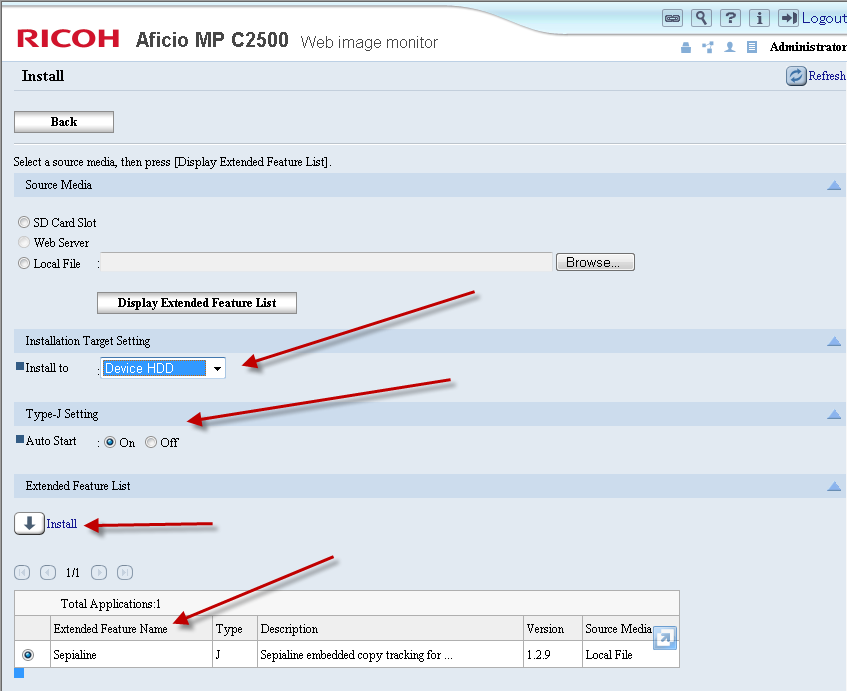
- Change Type-J Setting > Auto Start to On
- Select the radio button next to Sepialine
- Click the Install link above the application list
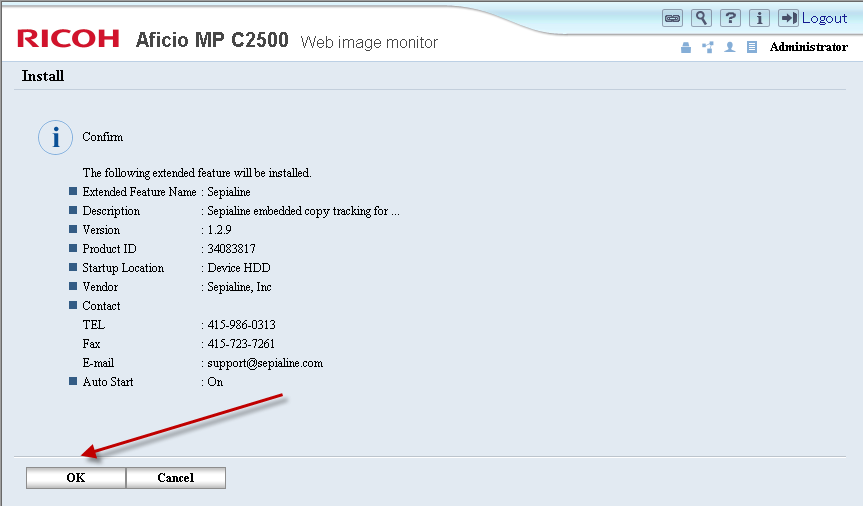
- Click OK to confirm the installation
- Navigate back to Configuration > Extended Feature Settings
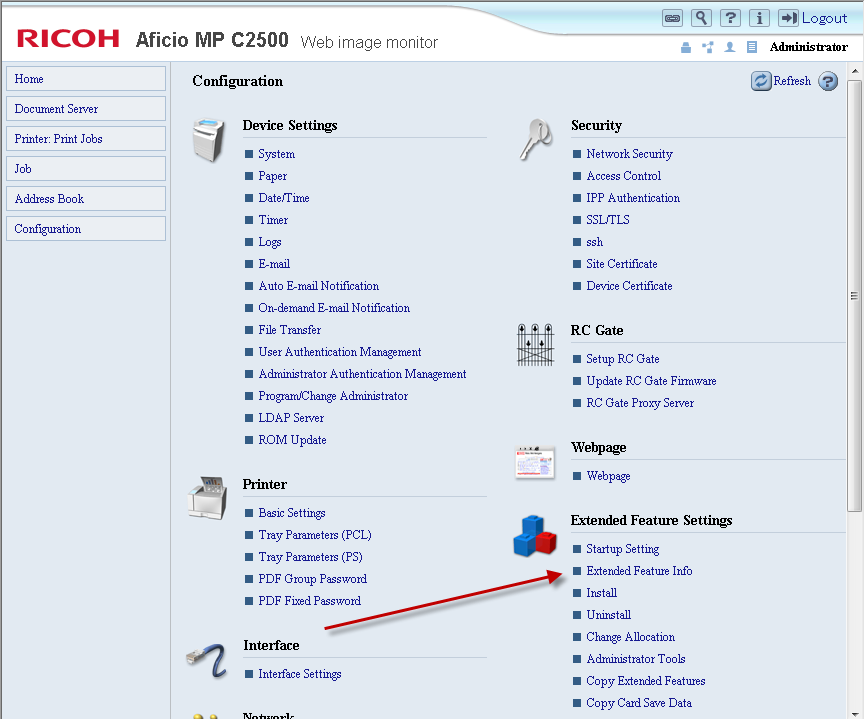
- Click on the Startup Setting link
- Select radio button next to Sepialine
- Click Start Up/Stop link
The status should now show Starting Up. If so, Argos OnBoard for Ricoh is now installed and running.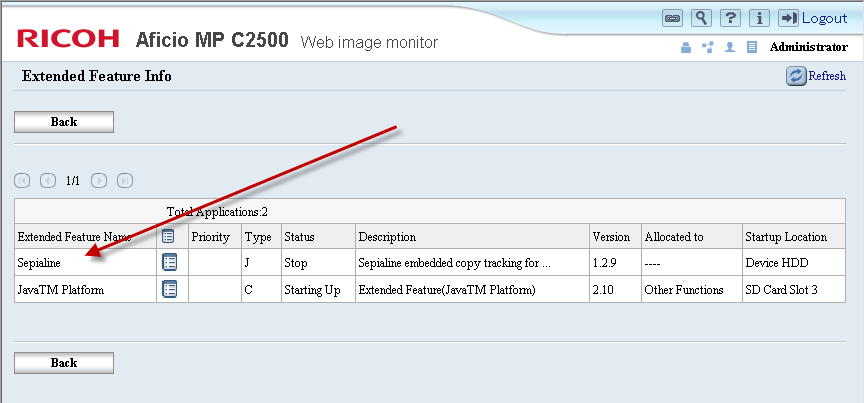
Additional Settings
In the application-desc section of Sepialine.dalp, there are four possible settings that can be changed:
- IP argument stores the IP address of the communication service.
- PORT argument stores the port number for the Ricoh service. By default this is 7083, but in some cases it may be different.
- LOG_LEVEL is 0 by default. For debugging purposes, Sepialine Support may ask you to change this.
- ALLOW_BYPASSING_LOGIN is 0 by default. Do not change this unless directed by Sepialine Support.
Timeout Settings
On the device itself under System Settings->General features "Function Priority" must be set to JavaTM/X.
Under System Settings->Timer Settings "System Auto Reset Timer" must be set to a value less than the Argos application timeout. 10 seconds or so is recommended.
These two settings in combination are required to switch the device application back over to our embedded app and ensure our application locks the device after copying is complete. Without these settings set unless the user manually logs out or switches over to the Argos application then any user can make any number of copies and they wont be tracked.
0 Comments